
Adding content to RikiTraki (Part 1)
Ready to save content to RikiTraki to share with your friends?
(Updated Feb 14, 2016: invitation code no longer required)
In previous posts I described how to find and view tracks stored in the RikiTraki database. Now, I will walk through how to post your own tracks to visualize and share with others.
First, register
The first step before you can post tracks, is to register with the site. This will enable you to add, edit and remove content, and you will be able to filter to see only the tracks that you uploaded, if you so desire.
Find and click on the user icon on the top right part of the screen 
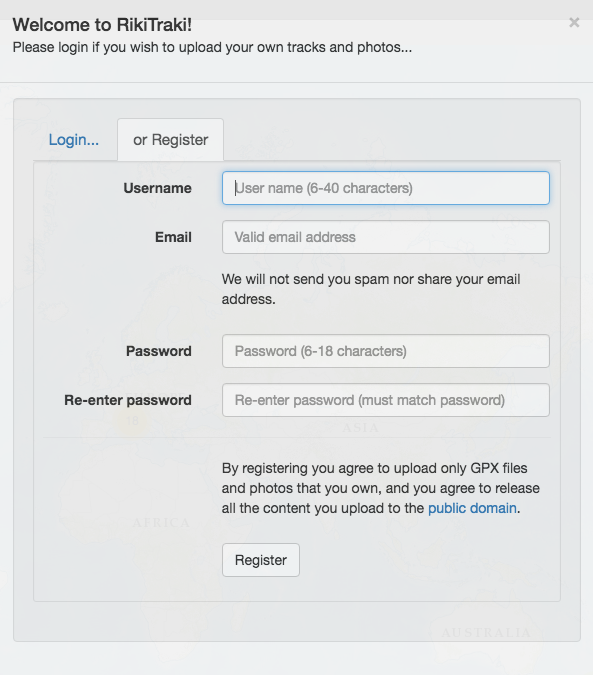
The login/register dialog will come up (assuming, of course, that you are not logged in already):

To register, click on the Register tab to access the registration form:
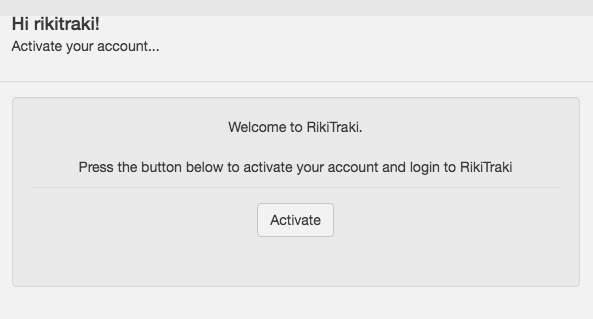
After registering, your account will need to be activated. RikiTraki will send you an email with a link to activate your account. Open your email, follow the link and press the activate button.
Ready to add content!
After activation, you will be automatically logged in and you will notice that by the appearance of the “Upload track” icon on the top left part of the screen (the little cloud with an up arrow in it). I will explain how that works in my next post.

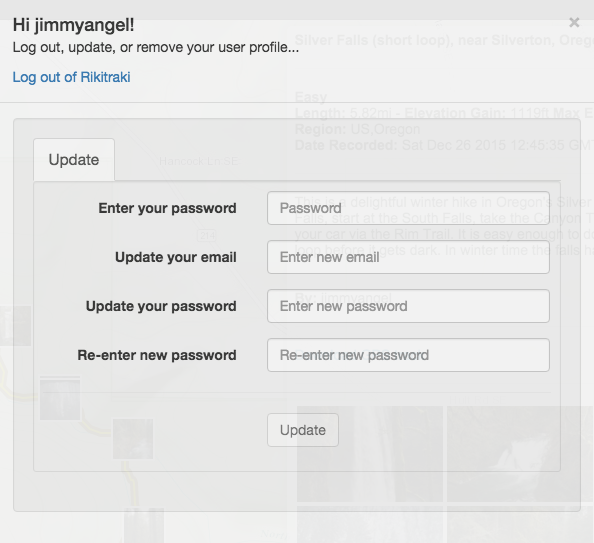
Also, when you are logged in, by clicking on the user icon, you will see a dialog that allows you to log out or to update your password and/or your email address.
After registration, you are ready to add content!
In my next post I will explain in detail how upload tracks and pictures.