
Serverless Geoportal: Admin authorization
Here, I continue discussing implementation details of the Provita Geoportal. In my first post on the topic, I discussed the overall design of the Geoportal. I followed with a more detailed description focused on data organization and storage.
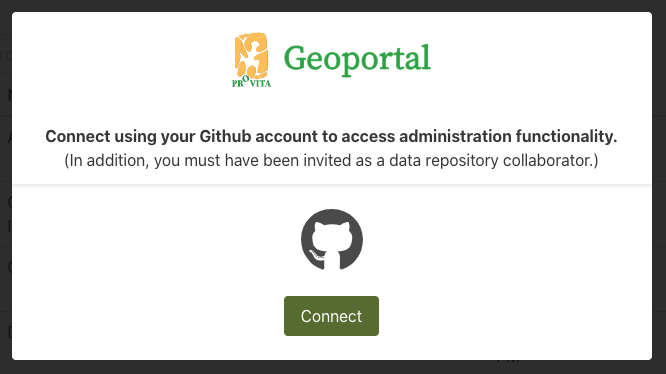
In this post (Updated Feb 17, 2021), I describe the approach used to provide an access control mechanism for Admin users to populate and maintain the content of the Geoportal.
Admin users
Even though the Geoportal is a public access site that does not require user registration, we need an approach to restrict access to site’s content management capabilities only to designated members of the Provita team, i.e., site administrators.
We need to be able to 1) authenticate admin users, and 2) authorize admin users to have the appropriate access to the site’s data.

We need a gate for Admin users; Source: Pixabay
There are two key cloud services we use to store the site’s data: GitHub and Amazon Web Services (AWS). Both have authentication and authorization capabilities available to developers, so rather than building our own system, why not just choose from one of these two?
Well, since a great deal of the site content is kept in a dedicated GitHub repository, we can simply take advantage of OAuth, an industry-standard authorization protocol, to get permission to update the repository. The purpose of OAuth is to obtain an access token, authorized by an authenticated GitHub user, which the application can then use to invoke the GitHub API to update the repository on behalf of the user.
To use GitHub OAuth: a) the Admin user must be a GitHub user, and b) the GitHub user must have write (i.e., push) privileges to the repository. To get “push” privileges to the repository, the user needs to be designated as a “collaborator”.
With the “go ahead” from the Provita team, we went with this approach, which as a bonus, saves us from having to set up and maintain a user registry or an identity system.
OAuth
The diagram below illustrates the OAuth flow needed to obtain an access token:
OAuth Sequence Diagram
- The Admin Page initiates the process by going to (
window.location.href) the Netlify (Lambda) functionauth-start. The url includes a randomly generated, unguessable, state query parameter to prevent certain types of attacks to the protocol (for protocol details, see here). Since the state token will come back along with the access token, we prepend the current locale code (e.g., “en”) to the state token so that we can extract it later to render the expected language after coming back from GitHub (i.e., /admin vs. /en/admin). The state token is saved in the browser’s session storage for later comparison.
The Admin Page initiates the process...
- As a result of
auth-start, the Admin Page is redirected to the GitHub authorization endpoint passing the requested scope, the state token and, a redirect uri (which is theauth-callbackNetlify (Lambda) function). If the user is not already logged in, GitHub will request the user’s credentials (i.e., user authentication) to authorize the Geoportal application to get the access it needs (this is defined by thescopeparameter, which in our case isread:user public_repo). By the way, if the user is already logged in, the process continues unobtrusively without further user interaction.
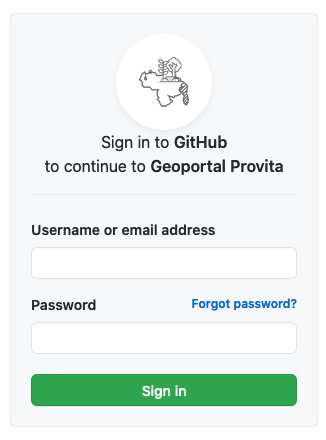
GitHub authenticates the user for us
-
After successful authentication, GitHub will invoke
auth-callbackwith a grant code and the state parameter used in Step 1). -
The
auth-callbackfunction then exchanges the grant code for an access code from the GitHub token endpoint, and redirects the browser back to the Admin Page (using the appropriate language), passing the access token and the state as query parameters. -
The Admin Page then extracts both the access and the state tokens query parameters. If the state token matches the one saved in the session storage in Step 1), we are good to go. We can now use the access token in all of our GitHub API function calls. We also use the token when invoking a number of Netlify functions used to access AWS (more on this later).
Fortunately, to implement the OAuth protocol, we don’t have to write all the code from scratch. We can take advantage of a good library like simple-oauth2. This article describes an implementation example for a different service provider using the simple-oauth2 library, but since OAuth is a standard, we can pretty much use the very same approach in our case, which is exactly what we did!
Saving the access token
We need to keep the access token around because it is needed every time we call the GitHub API to access the data repository.

We need to keep the token around; Source: Pixy.org
Now, keep in mind that the access token is a sensitive piece of information, very much like a userid/password. Anyone in possession of the access token can push changes to any of the public repositories the GitHub user has access to!
Our options to save the access token are:
| Option | Pro | Con |
|---|---|---|
| Keep the token as part of the application state, i.e., do not save it | More secure | Navigating away from the application requires a reconnection user interaction |
| Save the token in the browser’s session storage | Survives navigation away from the application (in the same tab) | Less secure |
| Save the token in the browser’s local storage | Survives forever, even after browser shutdown | Least secure |
As usual, there is always a compromise between security and convenience. In our case, we opted for the middle ground: save the token in the browser’s session storage, which is erased when the associated browser tab is closed. So an Admin user navigating out to another site and coming back to the Admin Page will not require a reconnection.
“Wiring” the Github OAuth application
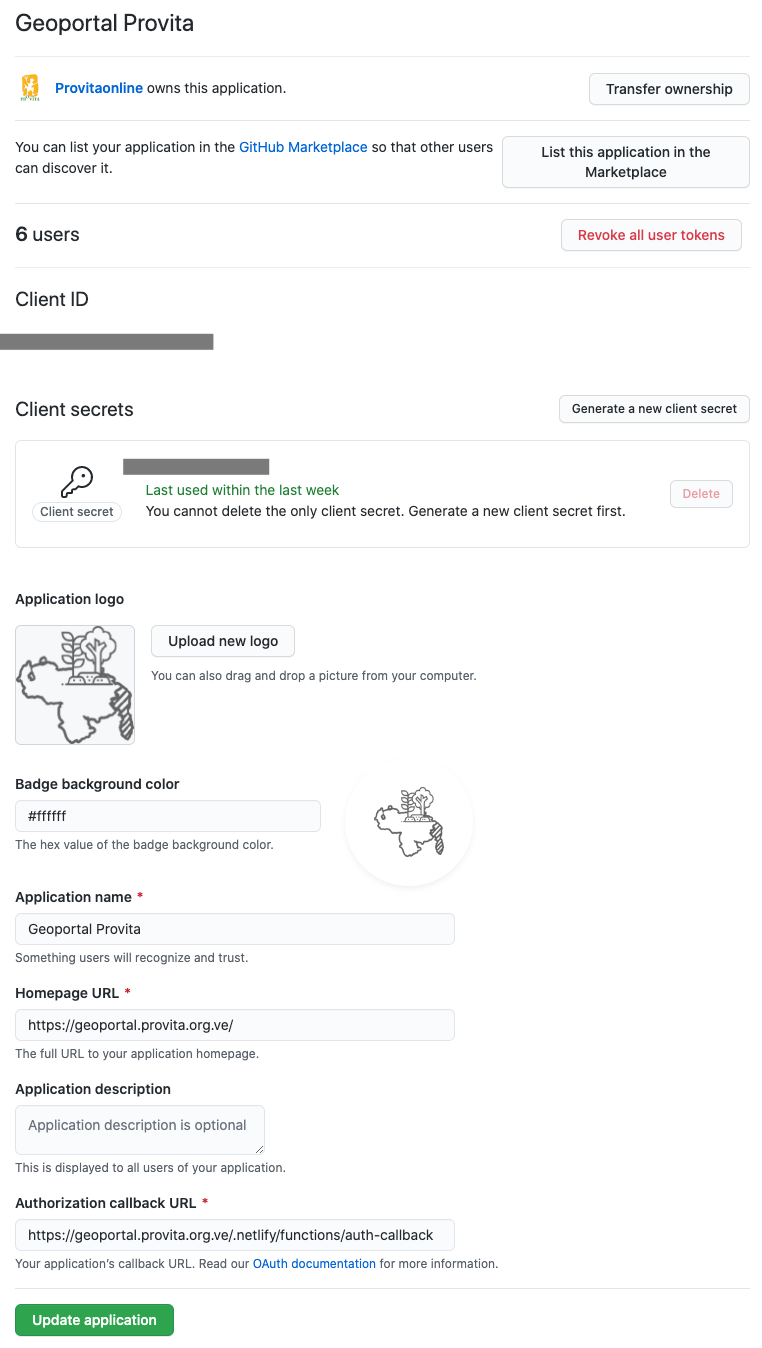
A key part of the configuration needed to enable GiHub to dole out authorization tokens is to register an OAuth application with GitHub. This can be accomplished in the GitHub application owner Account settings -> Developer settings -> OAuth apps.
We have registered two applications for the Geoportal: one for production and one for testing.
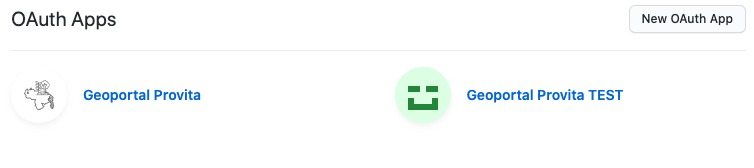
One application for production and one for testing
Production application GitHub OAuth configuration
Here is what the configuration looks like for the production application:
One application for production and one for testing
The key fields are:
| Field | Description |
|---|---|
| Client Id/Client Secret | These values are required by the OAuth protocol to obtain authorization tokens |
| Homepage URL | The url of the Web application wishing to get authorization tokens |
| Authorization callback URL | The url of the callback function (auth-callback) |
Using Netlify environment variable to pass secrets
Finally, in order to avoid storing secrets anywhere in the application code and/or configuration files, we use Netlify environment variables:
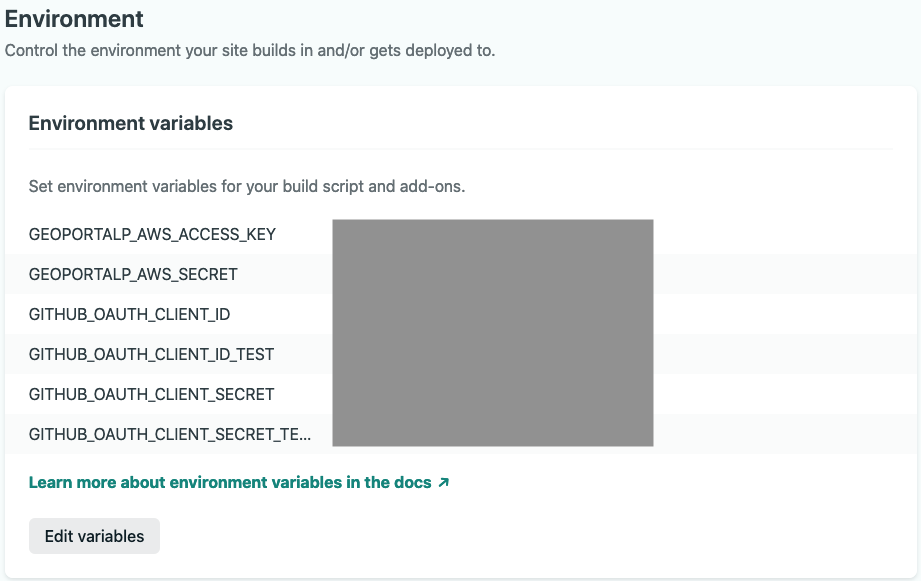
Netlify environment variables are used to keep and pass secrets
These variables are available to Netlify functions such as auth-start and auth-callback.
Using the access token to restrict access to AWS data
Ok, now with a GitHub access token we can access the GitHub-hosted data directly from the browser. But we still need to provide access control to items that need to be stored in AWS. How can we take advantage of the authorization provided by GitHub to control access to AWS resources?
The approach is simply to wrap every AWS update function (e.g., delete files, save user survey) in a Netlify (Lambda) function, pass the GitHub token to the function invocation, and before performing the requested action, check if the user’s access token belongs to a collaborator on the data repository. Then, to access AWS resources, the Netlify (Lambda) function uses a single AWS user’s (geoportalp) access key / secret pair configured via Netlify environment variables. Cool!
Wrapping up
-
We use OAuth to get user authorization to update repository data using the GitHub API
-
We delegate user authentication to GitHub
-
A Geoportal Admin user must be a GitHub user defined as a collaborator on the data repository
-
We extend the use of the GitHub access token to control access to AWS resources using Netlify (Lambda) functions.
In upcoming posts I will continue describing additional implementation details of Geoportal.
¡Hasta la vista!