
RikiTraki 2.0 is here!
It’s hard to believe it’s been more than a decade since I first built RikiTraki. What started as a simple way to collect and share my own GPS tracks slowly grew into something larger — and along the way, it also picked up a fair amount of technical debt, old decisions, and workarounds that I always wished I could revisit.
This year I finally took the time to rebuild it from the ground up.
RikiTraki 2.0 keeps the spirit of the original — a clean, map‑centric place to explore GPS tracks and photos — but the experience is now smoother, faster, and much more cohesive. The interface is simpler, the map is fully 3D, and the whole system feels more streamlined and enjoyable to use, whether you’re on a desktop or a phone.
In this post, I want to give you a tour of what’s new and show you how to get around the updated interface. It’s not a full manual, but more of a guided walkthrough — enough to help you feel at home and hopefully excited to explore your own tracks in the new version.
What’s new in 2.0
RikiTraki 2.0 brings a number of improvements that make the site easier to use, more consistent, and better suited for the long run.
A single, unified 3D map
The old version switched between a 2D map and a separate 3D globe, each with its own controls and behavior. In 2.0, everything happens in one place. The map is always 3D, always terrain‑aware, and always ready to explore.
A modern interface with collapsible panels
The new layout uses side and bottom panels that open when you need them and stay out of the way when you don’t. Browsing tracks, reading details, and viewing photos all feel cleaner and more organized.
A scalable search‑center approach
Instead of loading everything at once, the map now focuses on a search center — either near you or at a point you choose by clicking on the map. Tracks load around that location, which keeps the experience fast even as the dataset grows.
Your own page for your tracks
Every user now has a personal page where their tracks live. It’s an easy way to keep things organized and shareable, and it makes the site feel more personal.
You can still explore all the tracks in RikiTraki — your page is just your own corner of the site.
Automatic region tags
When you upload a track, RikiTraki now assigns region tags automatically based on the trailhead location. No more guessing or filling out extra fields.
A touch‑friendly photo gallery
Photos are easier to browse on phones and tablets. You can swipe through them, tap to open the full view, and move smoothly between the map and the gallery.
Terrain‑sampled elevation
Track elevation is now sampled directly from the terrain, which gives you a much more accurate sense of the ups and downs along the route. This avoids relying on the notoriously noisy and often inaccurate elevation values recorded by GPS devices.
A better mobile experience overall
The entire site adapts more gracefully to small screens. Panning, zooming, opening panels, and viewing photos all feel more natural on a phone.
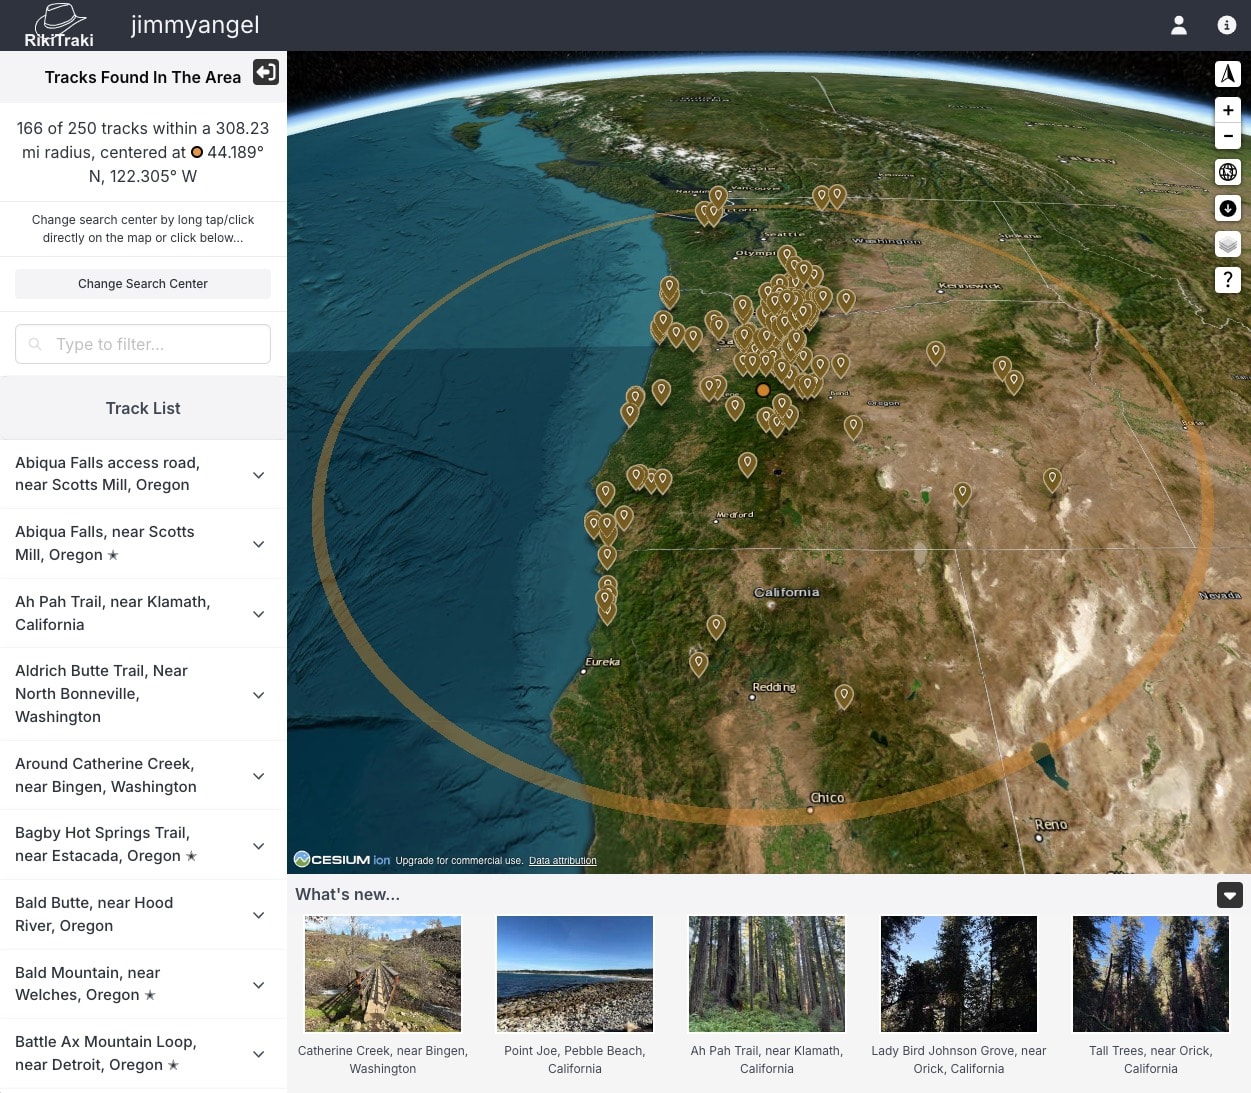
Exploring the map
When you open RikiTraki 2.0, the first thing you see is the new 3D map. This is now the heart of the site. There’s no separate 2D view or globe view anymore — everything happens in one place, with smooth terrain and a single set of controls.
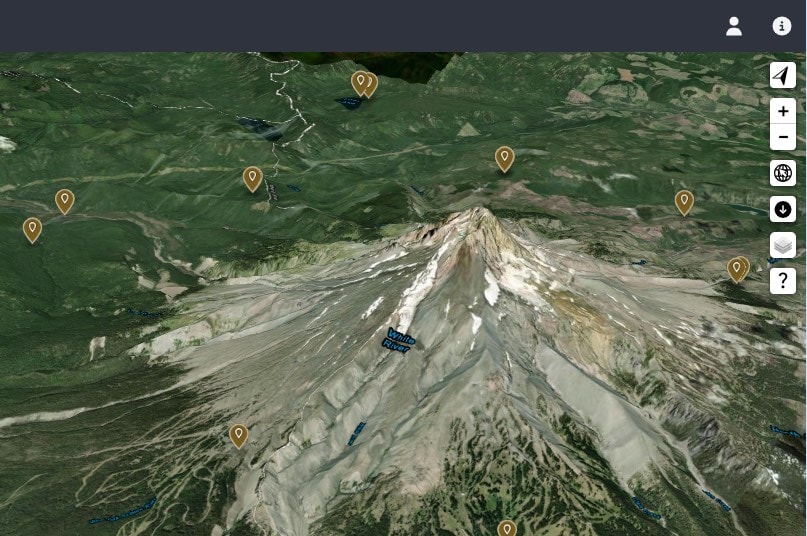
You can pan, zoom, and rotate the map, and the camera moves smoothly over the terrain. You can tilt the view to get a better sense of the landscape around each track. If you ever need a quick reminder of the controls, the question‑mark icon opens a short help panel that explains them and the basic mouse and touch gestures.
Finding tracks near you (or anywhere you long‑press)
Instead of loading everything at once, the map now focuses on a search center — either near you or at a point you choose by long‑pressing on the map. Tracks load around that location and appear as markers on the terrain.
An orange dot marks the search center itself, and a faint orange circle shows the search area around it. To change the search center, long‑press or long‑tap on the map; the orange dot and circle move to that spot, and RikiTraki loads tracks in that new area.
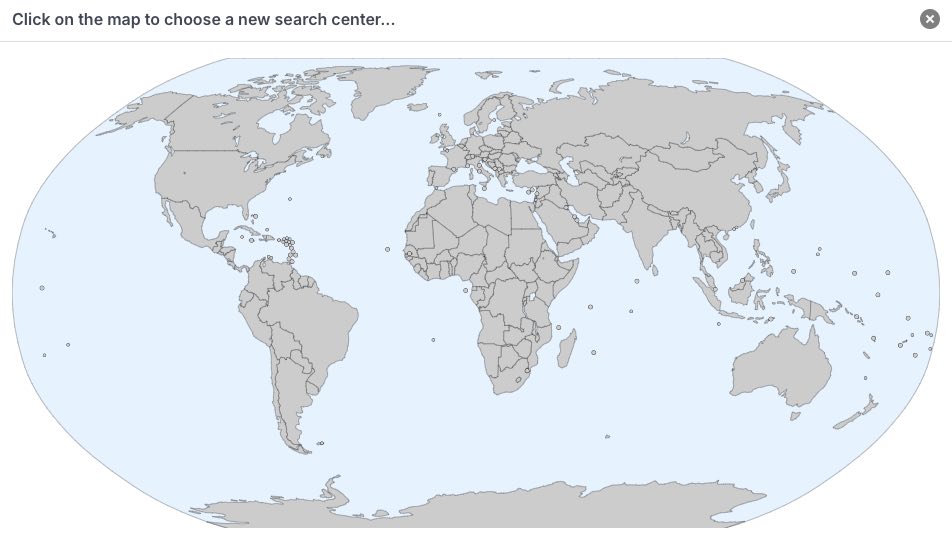
Changing the search center with the minimap
You can also change the search center using the small minimap in the side panel. Tapping a location on the minimap instantly moves the search center to that spot. It’s a quick way to jump to a different region without panning the main map.
Using the side and bottom panels
The new interface uses collapsible panels that open when you need them:
- The side panel shows the tracks found in the current search area. At the top, it gives a quick summary of how many tracks were found and where the search center is located. Below that, you’ll see the full list of tracks with their names, dates, activities, levels, and region tags, along with a simple filter to narrow things down.

-
The bottom panel has two modes.
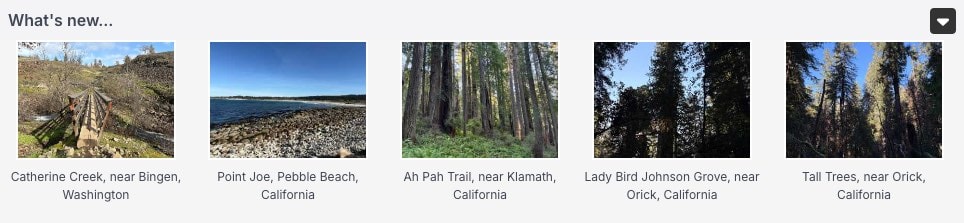
- In world mode, it shows a small set of recent tracks that have photos — up to five thumbnails with their names.
- In track mode, it switches to a set of cards for the active track: basic track info (like distance and elevation gain), the track description, track tools, the elevation profile, and clickable photo thumbnails.

Both panels slide out of the way when you want to focus on the map. On small screens (like phones), the panels are stacked: the side panel opens on top of the map, and the bottom panel stays anchored at the bottom. Both can slide out of view to give you more room to explore.
Track markers and previews
Each track appears as a marker on the terrain. Tapping or clicking a marker opens a small window with the track’s name as a link — selecting it opens the full track view and switches you into track mode.
If several tracks are close together, the window shows a list of the nearby tracks so you can pick the one you want.
Viewing a track
You can open a track in several ways: by tapping its marker on the map, selecting it from the list in the side panel, or tapping one of the track thumbnails shown in the bottom panel when you’re in world mode. Any of these actions brings the map into track mode, where the focus shifts from the world to a single route. The camera first frames the entire track so you can see its full shape in the landscape.
Track header
At the top of the bottom panel, you’ll see a small header bar with two quick controls and a couple of details about the track:

- A close icon to exit track mode
- A reset‑view icon to re‑center the camera on the active track
- The track name
- A star if the track is favorited by its owner
This header stays visible while you scroll through the track cards.
Track cards
In track mode, the bottom panel shows a set of cards arranged left to right (or top to bottom on small screens). The cards appear in this order:
- Track info — distance, elevation gain, activity type, difficulty, and other basics
- Description — notes about the route, conditions, or anything worth knowing
- Track tools — options for showing or hiding map thumbnails, playing or pausing the animation, stopping or resetting it, adjusting the speed, and downloading the GPX file
- Elevation profile — a terrain‑sampled elevation graph
- Photo thumbnails — clickable images from the track
Terrain‑sampled elevation
RikiTraki uses terrain‑sampled elevation instead of relying on the elevation values recorded by GPS devices. GPS elevation is notoriously noisy and often inaccurate, so sampling directly from the terrain gives you a much clearer sense of the real ups and downs along the route.
Clicking or tapping anywhere on the elevation profile shows the elevation at that point, and a blue dot appears on the map to mark the corresponding location on the track.
Photos
If the track has photos, they appear as thumbnails in the bottom panel. You can tap any thumbnail to open the lightbox viewer and swipe through the images.
If the photos are geotagged, you’ll also see small thumbnails along the track itself on the map. These are clickable too — tapping one opens the same lightbox viewer. It’s an easy way to see exactly where each photo was taken.
Track tools
The track tools card gives you quick access to features specific to the active track:
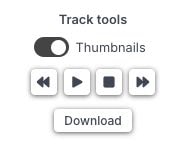
- Show or hide map thumbnails
- Play or pause the track animation
- Stop or reset the animation
- Adjust animation speed
- Download the GPX file
When the animation is playing, the camera locks onto the animated marker so you can follow the movement along the route. In this mode you can still zoom, rotate, and tilt the view, but you cannot pan — the camera remains centered on the moving marker.
That’s the viewing side of RikiTraki
That’s the core of the viewing experience in RikiTraki 2.0. The map stays front and center, and everything else — the search center, the panels, the track cards, the elevation profile, the photos, and the tools — is designed to support exploring the landscape without getting in the way. Whether you’re browsing recent tracks, jumping to a new region, or diving into the details of a single route, the interface stays consistent across screen sizes.
The next post will cover the other side of the app: uploading new tracks, adding photos, editing details, and managing your own collection. That part has its own flow and its own set of tools, so it deserves a dedicated walkthrough.
I hope this walkthrough helps you get a feel for the new viewing experience in RikiTraki 2.0. I’ll keep refining things as we go, and I truly appreciate any feedback you’re willing to share. If you spot anything strange or unexpected, please let me know — it helps me keep the site solid and enjoyable.
That’s it for now.
¡Chao!