
Provita Geoportal Admin
On my previous post, I gave an overview of the Provita Geoportal from an end-user perspective. On this post, I describe the Admin functionality used by authorized Provita users to add and manage the site’s content.
First things first
To access the admin functionality of the Geoportal, the Admin user must first be authenticated.
An Admin user must have a Github account, and must have been added as a Collaborator on the Provita Geoportal data repository.
The Portal Administration page
The Admin function of the Geoportal provides a tabbed interface to manage the content of each section of the site:
- Data sets
- News
- Survey
- FAQ
- More
- Edit “About”
- Edit “Contact”
- Download survey data
Data can be entered or edited data in one or several sections, which will be saved onto the data repository. However, the content will not be “published” (i.e., available to the public) until the Admin user clicks on the “Publish” button (located on the top right corner of the tabbed interface). It takes a couple of minutes after hitting “Publish” for the site content to become publicly available.
Data sets
The first tab, Data sets, is used to upload and remove GIS files shared on the Geoportal. Each data set consists of a single .ZIP package containing collection of files (e.g., .SHP, .DBF, .XML) which constitute the GIS data being shared. The site accepts Shapefile, GeoTIFF, and PDF formats. Any other format will be rejected.

Public files are those available for download. Private files are only used to generate preview tiles. This is needed in the case of .PDF Public files which cannot be used to generate tiles.
The Data sets tab is also used to add/edit the metadata associated with each data set. Note that Private files should be uploaded first, so that that they can be associated with the corresponding Public files as part of their metadata using the “Tile generation source” field.
Vector files trigger the automatic generation of pre-view tiles immediately after they are uploaded. Pre-view tiles for Raster files are generated after the tile styling parameters have been saved.
Descriptive info
The top part of the Metadata editor is used to enter data set information such as Title, Source, Date, Tags, and Description.

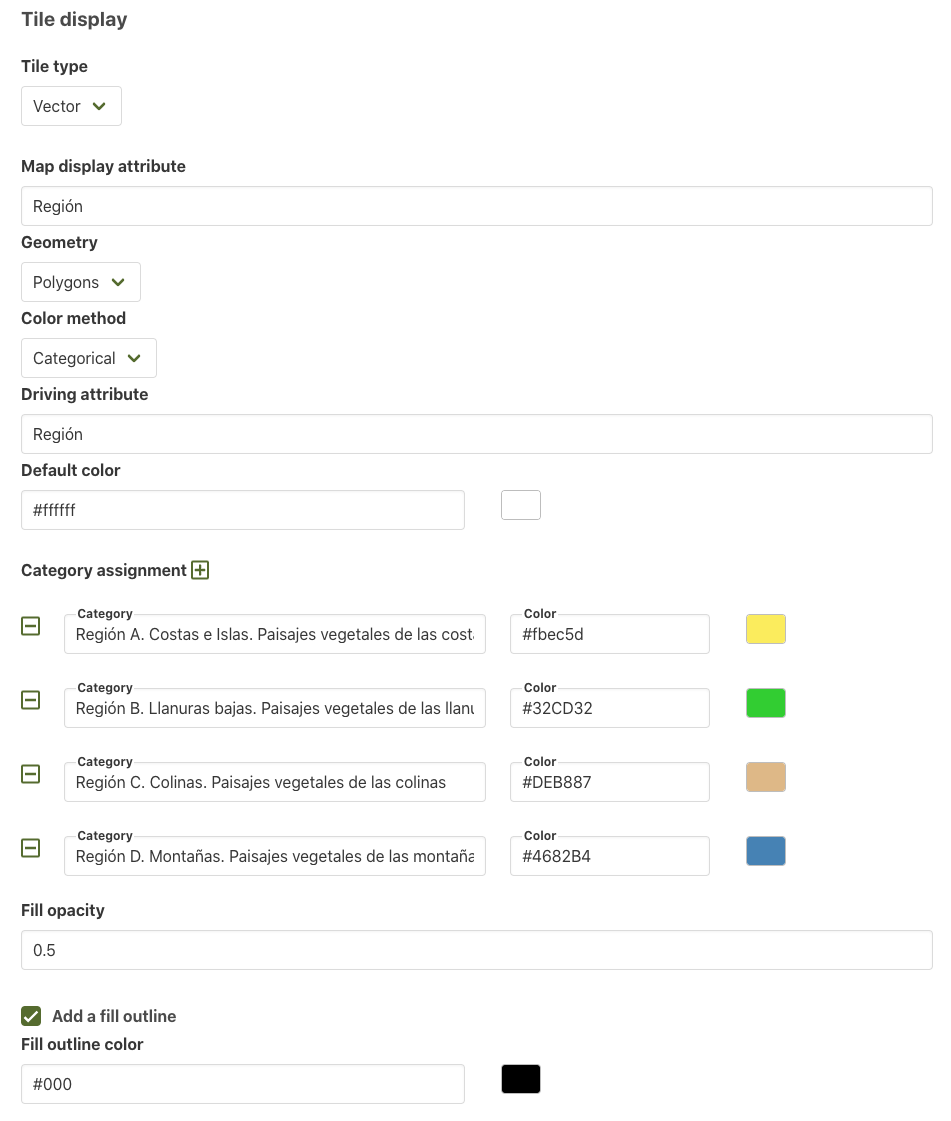
Tile display styling
The bottom part of the Metadata editor is used to enter styling parameters for displaying the data set pre-view tiles. The types of parameters available for styling depend on the type of data set, Vector or Raster. In addition, for Vector data sets, the options vary depending on the geometries included in the data set: Polygons, Lines, or Points.
News
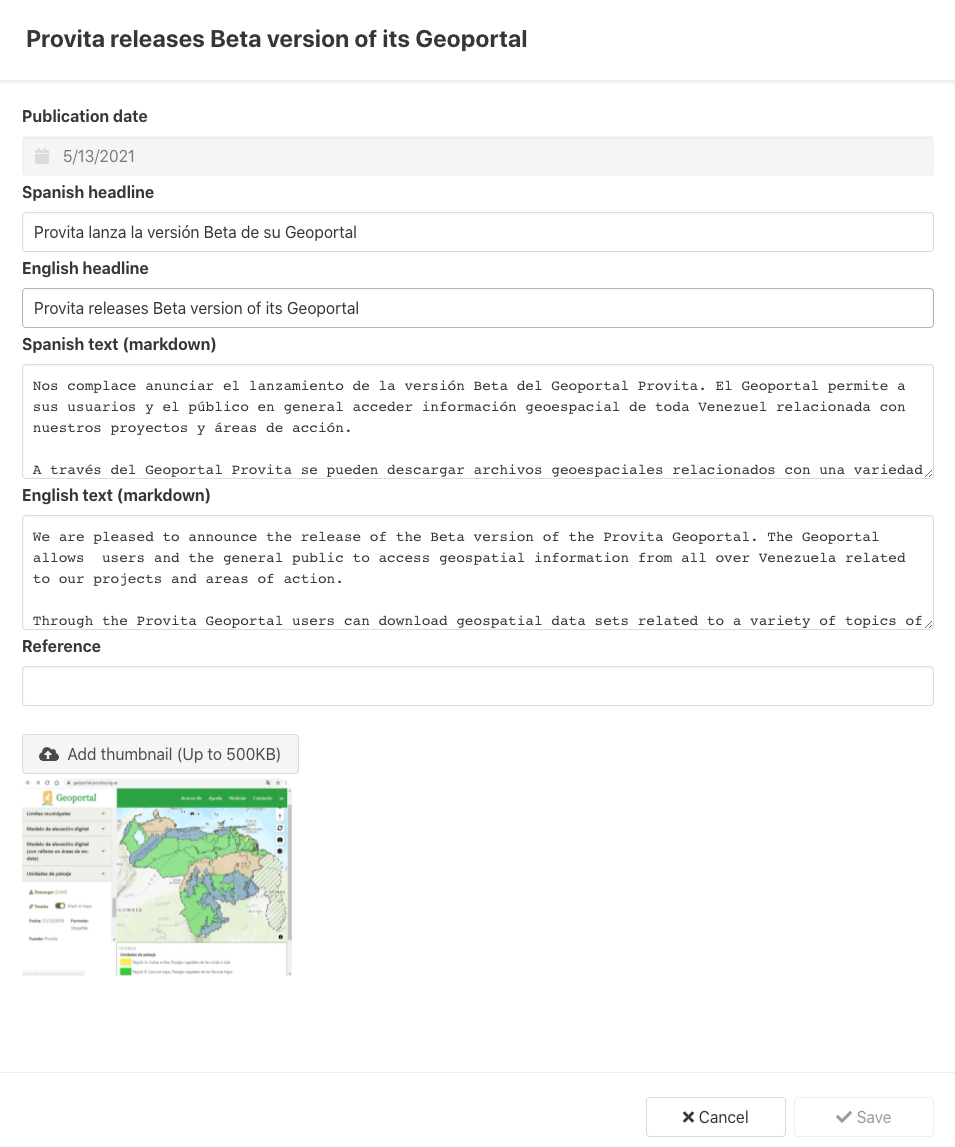
The second tab, News, is used to add/edit the news items that appear on the News section of the site.
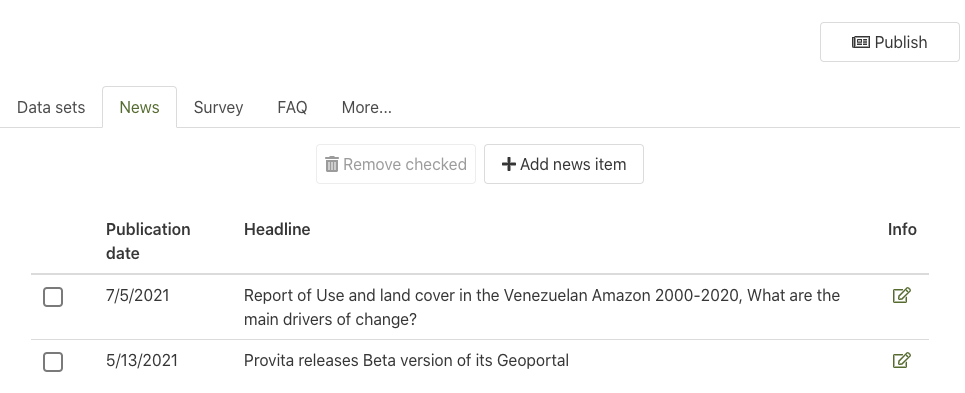
News items information include: Publication Date, Headline, Text, and a small image to accompany the News item.
Survey
The third tab, Survey, is used to edit the questions to be used on the optional survey that is presented to end-users when they download a file.
The list of questions is presented in the order shown on the list, and the order can be changed by simply dragging and dropping list items in order to achieve the desired order.
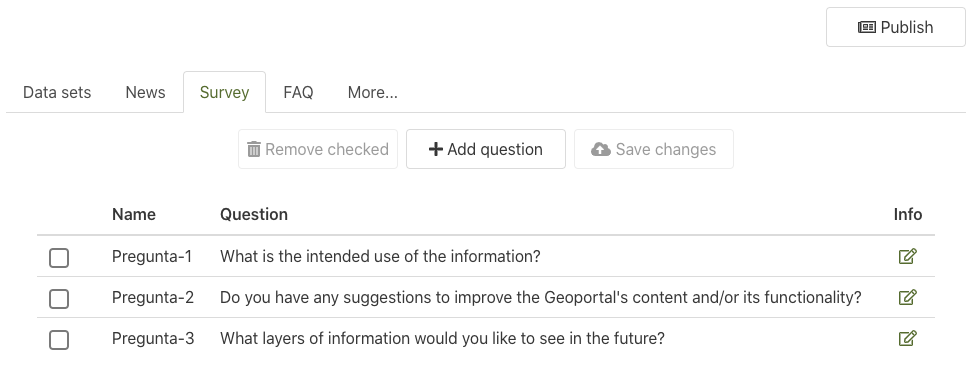
Each question has a name (i.e., field name), a question text, and the definition of the field to be captured by the question. A question can be either “Selection” or a “Text” item.
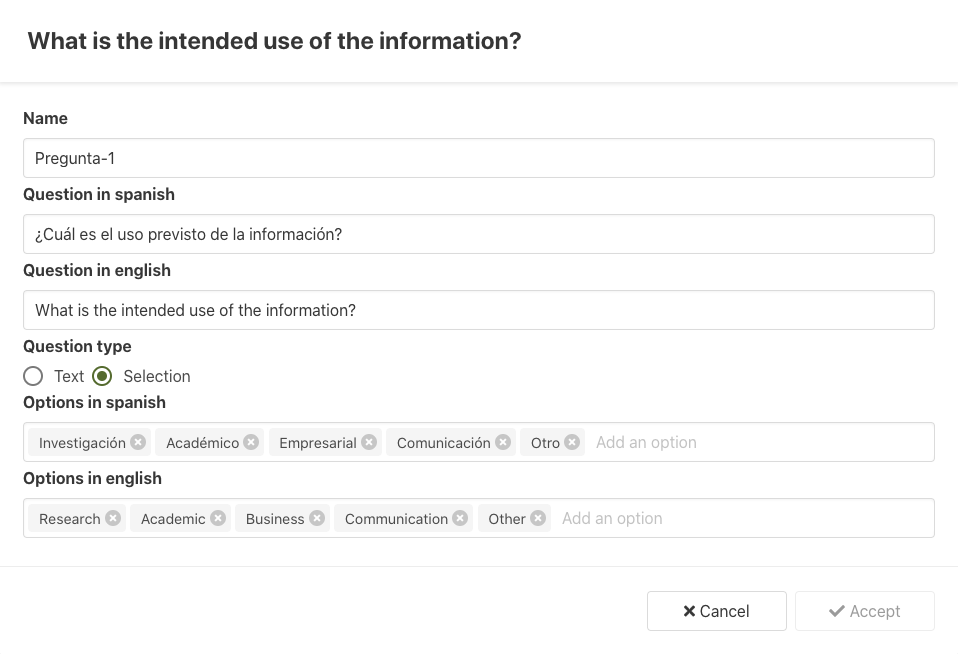
It is important to note that every time the survey is modified, a new version is generated so that collections of answers can be interpreted consistently for each version.
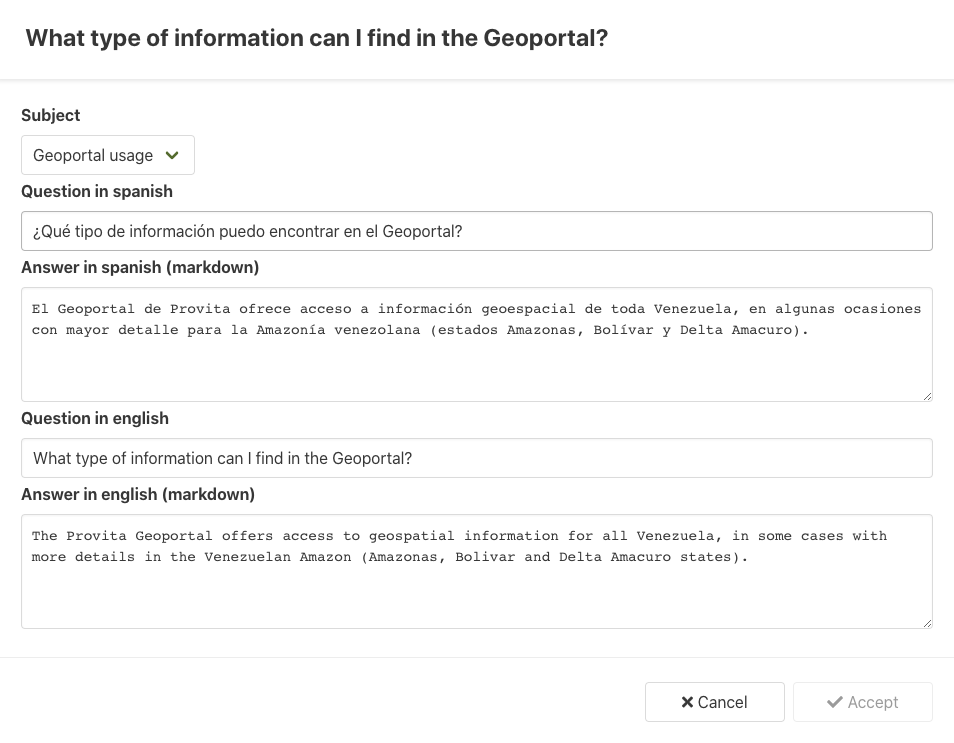
FAQ
The fourth tab, FAQ, is used to edit the site’s FAQ content.
The list of FAQ is presented in the order shown on the list, grouped by Subject, and the order can be changed by simply dragging and dropping list items in order to achieve the desired order.
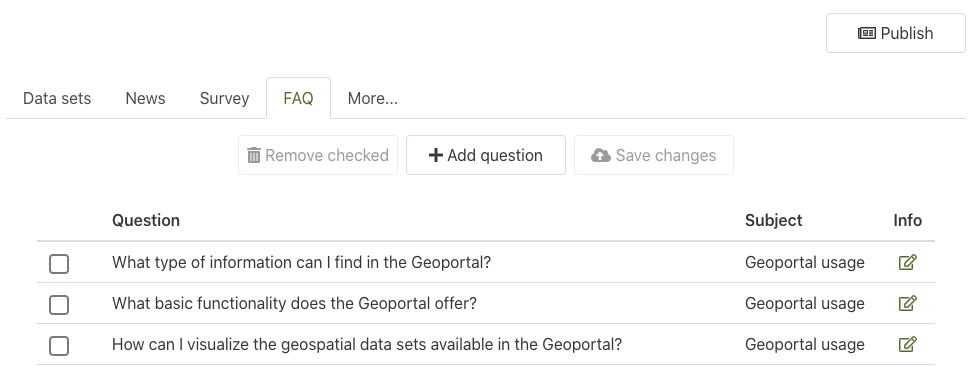
Each FAQ item has a Subject, a question text, and the associated answer.
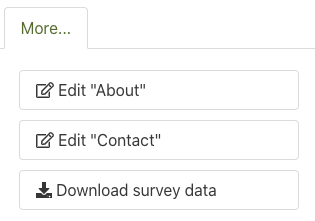
More
The fifth tab, More, is used to edit the site’s About and Contact content. In addition, it is used to download survey responses. The About and Contact sections are simple edit forms with the fields needed to display the required content.
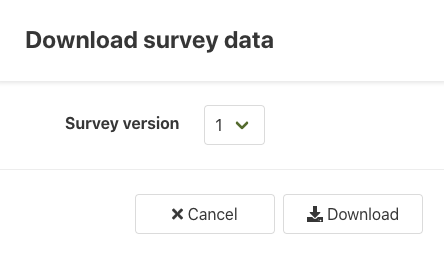
The survey download function requires selecting the survey version of interest. The downloaded is a comma-delimited file that can be used by Provita staff with tools such as a spreadsheet or a personal database.
On this post, I gave an overview of the Admin functionality of the Provita Geoportal. On future posts, I will continue describing the technical details behind the site, for example, how the pre-view tiles are auto-generated using a “serverless” approach.
¡Hasta la vista!