
Venezuelan Red List of Ecosystems Netlify Deployment
Deploying the site
In March (wow, it feels like eons ago!), I posted a discussion on the design of the Venezuelan Red List of Ecosystems site (Libro Rojo de los Ecosistemas Terrestres de Venezuela).
In this post, I describe how the project is deployed in production using Netlify.
What is Netlify?
Netlify is a service used to deploy static web sites or sites that follow the Jamstack (Javascript, APIs, Markup stack) architecture, i.e., pre-rendered web pages where dynamic content is provided using client-side APIs, without the need of setting up or maintaining servers. As described in my earlier post, the Venezuelan Red List of Ecosystems is a Jamstack site, because all of its pages are pre-generated from markdown files using Gridsome/Vue and the dynamic content presented on the interactive maps uses client-side APIs.
No servers! No databases! No fuss!
Where Netlify really shines is how easy it is to set up your site with automatic deployment directly from your code repository (in our case, hosted on Github). Every time you push your changes to the repository, Netlify triggers a build/deploy cycle. If you are working on a pull request, Netlify will generate a preview version (separate from your production deployment), so you can check your changes live before merging. It is also possible to set up branch-level deployment previews, where you can validate your changes before going in production.
Netlify also supports custom domains and it will set up Let’s Encrypt TLS certificates to support HTTPS on your site.
Now, make sure you are sitting down before you read this: all of this stuff (and more) is available for FREE (as in free lunch) for a single developer, with very generous usage limits (e.g., unlimited number of sites, up to 300 build/minutes per month, 100GB of bandwidth per month). For small sites, these limits are plenty!
I don’t know how they do it, but I am really pleased and grateful! Netlify has been really wonderful in supporting all of my volunteering projects.
How to deploy
The deploy process is initiated by using the “New Site from Git” function. The function will ask you to connect with your Git provider. In my case, I use Github. Once connected, you can pick one of your repositories to deploy, which specific branch to deploy (defaults to “master”), the command used to build the site (in our case, npm run build), and the subdirectory where the site is published (in our case, /dist).
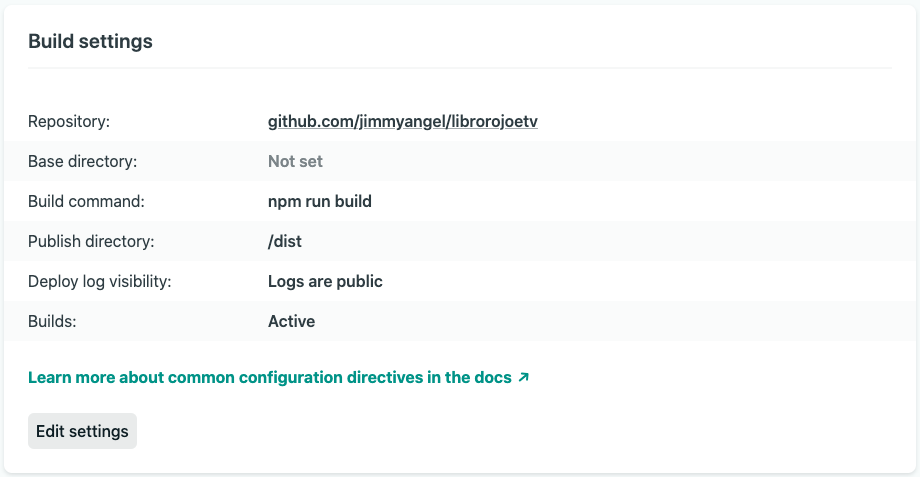
Boom! The site is deployed!
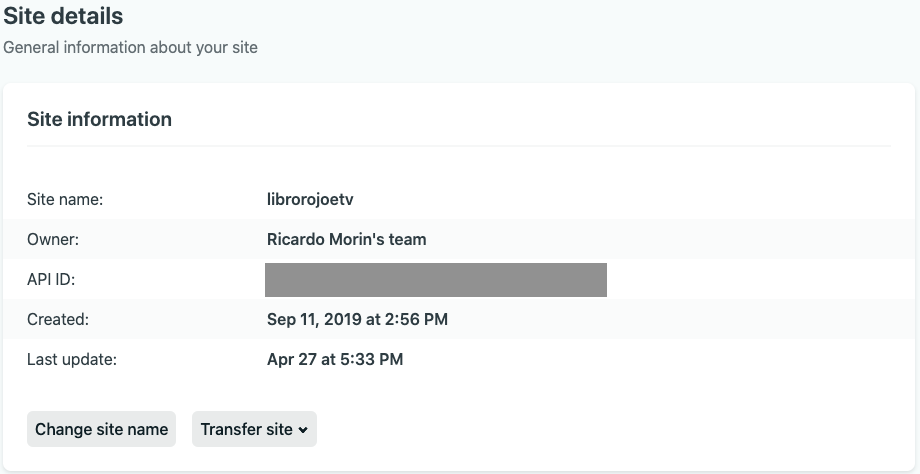
The name of the site is randomly generated by Netlify, but you can easily change it to something more meaningful by going to the “Site Settings” and changing the Site Name. The url will be the site name followed by .netlify.app, in our case librorojoetv.netlify.app.
Now, every time you push to the deployed branch, Netlify will automagically run your build command and redeploy the site.
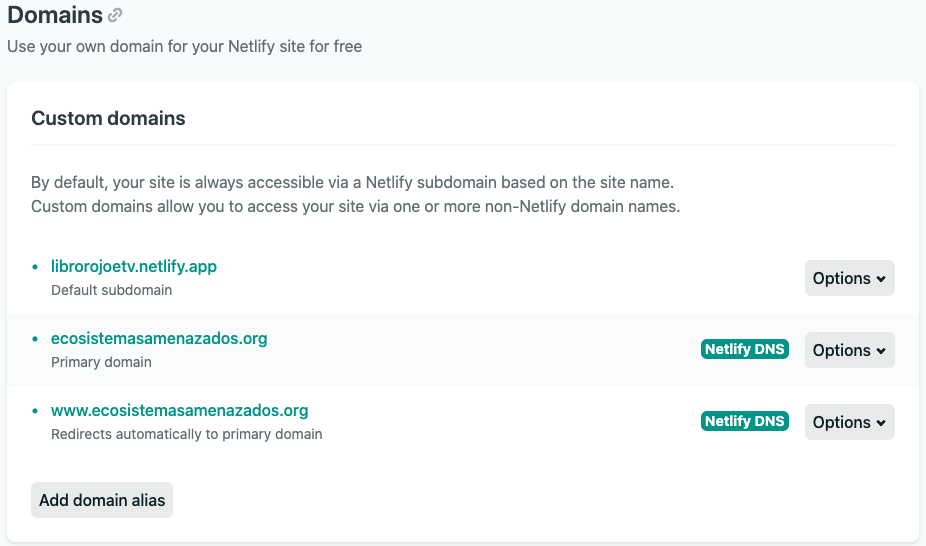
The next step is to use our own domain name to access the site (in our case, ecosistemasamenazados.org). In Site Settings, Domain Management, you add a custom domain (if you don’t have one, you can use Netlify as domain registrar). Even if you have your own domain registered elsewhere, you can use Netlify’s DNS service, which is the easiest way.
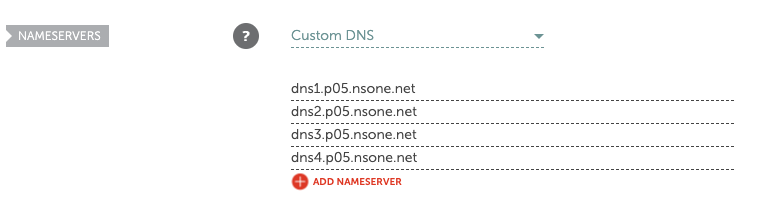
Then you go to your domain registrar (in our case, Namecheap) and point your custom DNS name servers to Netlify’s.
The last step is to enable HTTPS, which is as simple as “Enable HTTPS” from the Site Settings page.
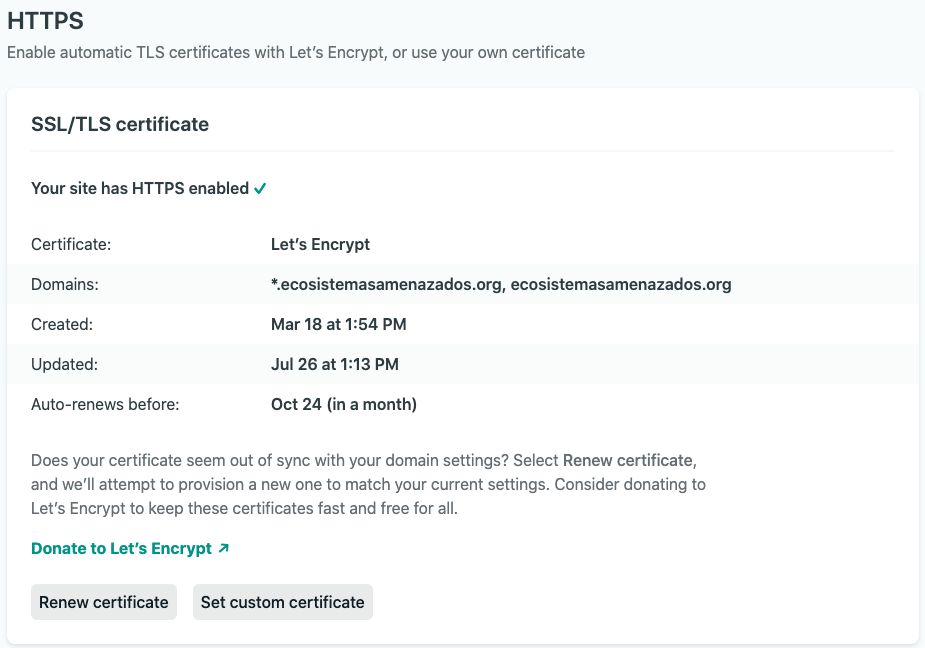
Boom! The site is deployed under your own domain name and using HTTPS!
In my next post, I will discuss how to enable and configure the Netlify CMS, a free and open source Content Management System that integrates really nicely with Netlify.
That’s it for now!